Breadcrumbs Proxy:
Topic Body Proxy:
Ref: DM-SDP01
This document is a step-by-step guide to synchronising Docman’s patient records with your clinical system.
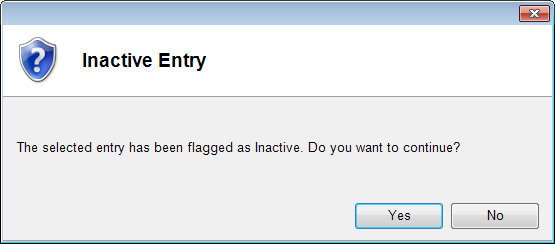
Running a manual patient synchronisation will also resolve issues where fully active patients are appearing as inactive in Docman.
The patient synchronisation can also synchronise the usual and registered GP data, allowing you to add and configure clinical users in Docman for the workflow Usual GP and Registered GP workflow route options. This data is also used for Single Sign On with EMIS Web and INPS Vision systems.
To perform a patient synchronisation, you will need to log into Docman as a user account with permissions set to access the Administration module. This can be the generic ADMIN account or one created by the site.
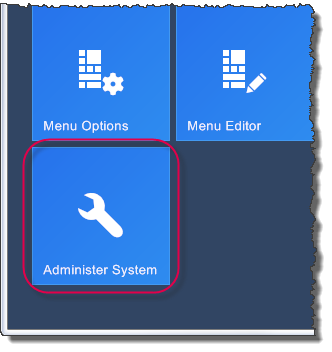
Log into Docman as a user that has access to the Administration module, and click the Settings tile.

Then click Administer System.
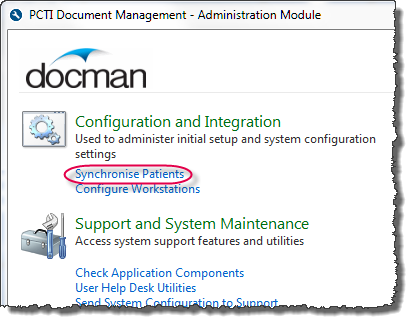
The Docman Administration module opens.
Select “Synchronise Patients”.
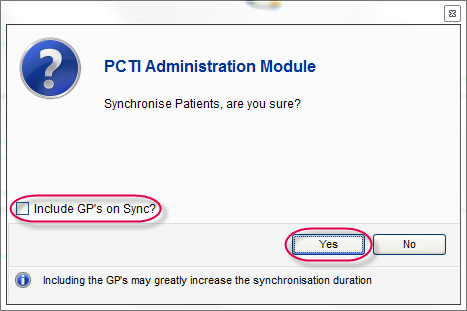
Docman asks you to confirm this choice.
This confirmation prompt also gives you the option to include GPs on Sync. Select this option if you are synchronising patients to update the usual and registered GP data, or for the Single Sign On function.
Click yes to start the synchronisation.
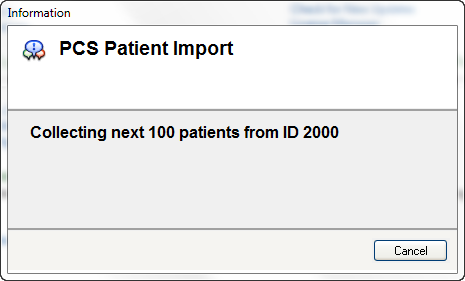
Docman synchronises its own patient data with your clinical system. This process takes approximately fifteen minutes, although this may vary depending on your site’s patient database size and network speed.
The synchronisation gives you a summary of patients added and updated once it finishes. Click OK to exit this screen.
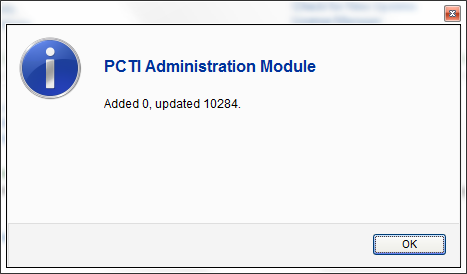
The synchronisation is complete.
Mini-ToC Proxy:
Topic Toolbar Proxy:
OutPut ToC Proxy:
Menu Proxy: